Virtual Machines
Virtual Machines allow you to run a virtual operating system on your host os. For example, if you have a Windows computer, you can create a Linux virtual machine, which would allow you to run a Linux desktop in a window. (very oversimplified)
It is recommended that you create, run, and test your code on Linux (usually Ubuntu). This is for a number of reasons, most importantly that Windows is often inconsistent and may require workarounds for certain tools/technologies to work correctly.
Below is a guide on creating an Ubuntu Linux virtual machine using VirtualBox on a Windows host machine. Ubuntu is a popular distribution (distro) of Linux and is very user-friendly. VirtualBox is a popular hypervisor (essentially a program that can create/run virtual machines).
Table of Contents
- Downloads
- Installing VirtualBox
- Creating the Virtual Machine
- Allocating VM Resources
- Starting Your VM
- Installing VBox Guest Additions
- Taking a Snapshot of Your VM
Downloads
To begin, you will need to download a couple of things:
- VirtualBox: https://www.virtualbox.org/wiki/Downloads
- Ubuntu ISO image: https://ubuntu.com/download/desktop
Installing VirtualBox
Once the installer for VirtualBox is downloaded, launch it and follow the prompts to install VirtualBox.
Creating the Virtual Machine
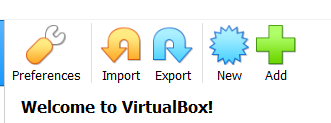
- Open VirtualBox
- Click the “New” button at the top
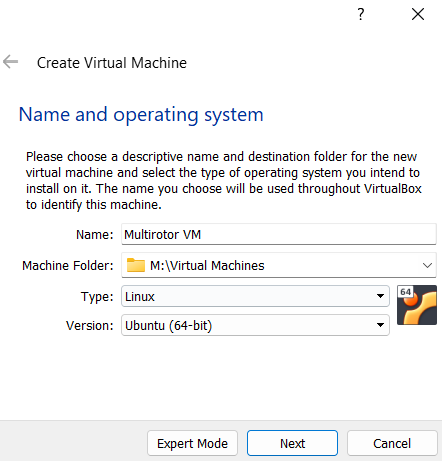
- Give the machine a name and select the folder and OS.
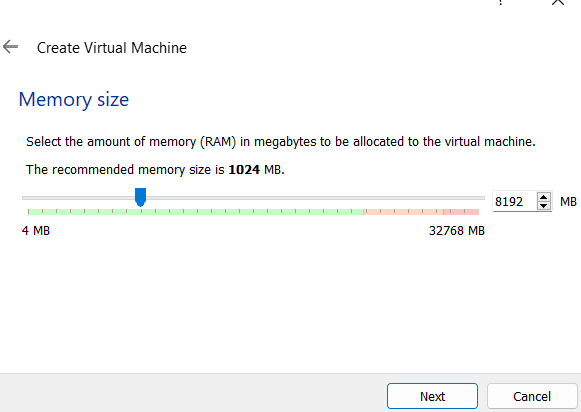
- Allocate system memory (RAM).
- Select “Create Virtual Hard Disk Now”.
- For Hard Disk Type, select VDI.
- Select either “Dynamically allocated” or “Fixed size”. A fixed size virtual disk will use all space that you allocate to it on disk. A dynamically allocated disk will fluctuate in size and will use up to the amount that you allocate. Dynamically allocated will use less space, but typically comes at a performance hit.
- Select the amount of storage you want your virtual hard disk to have. You should allocate at least 12 GB of storage.
- You should now have a new virtual machine in your list.

Allocating VM Resources
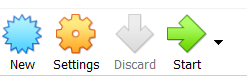
- On your new VM, click on settings. You will need to change the resource allocation before starting your machine.
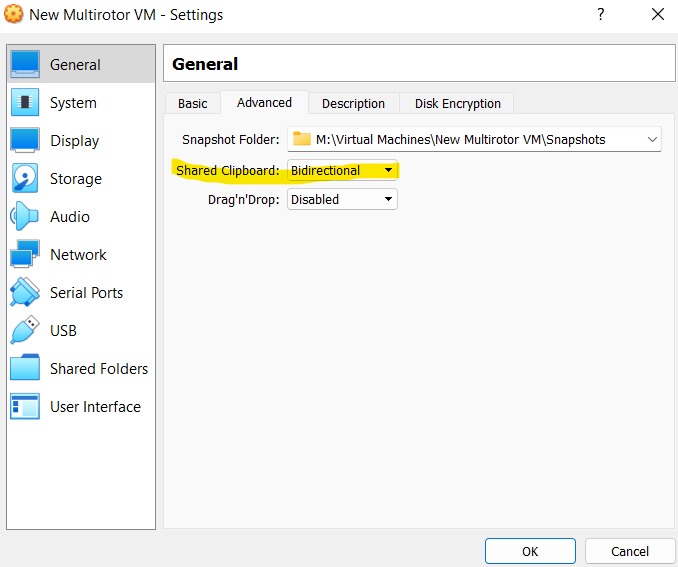
- Under General > Advanced, enable bidirectional shared clipboard. This will allow you to copy/paste between your VM and your host machine.
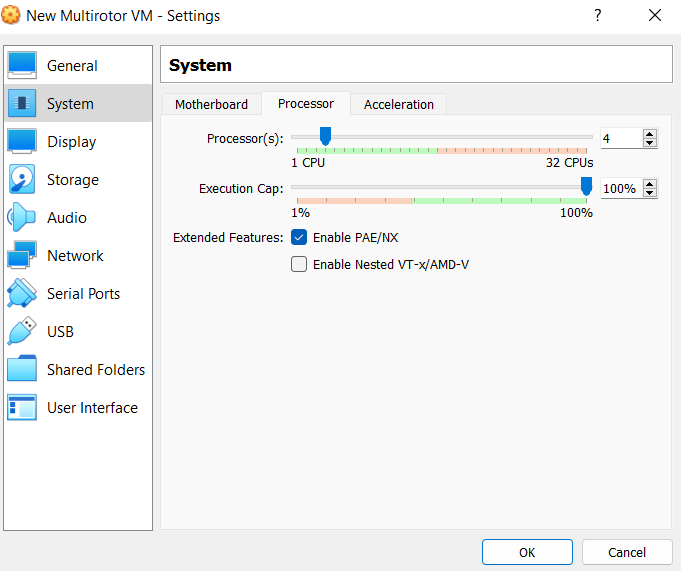
- Under System > Processor, set the number of CPU cores you wish to allocate to the machine. VirtualBox will not actually hold exclusivity over these cores, so TLDR you want to assign at least 2-4 CPU cores if you can. (The more you assign, the faster the machine can be.)
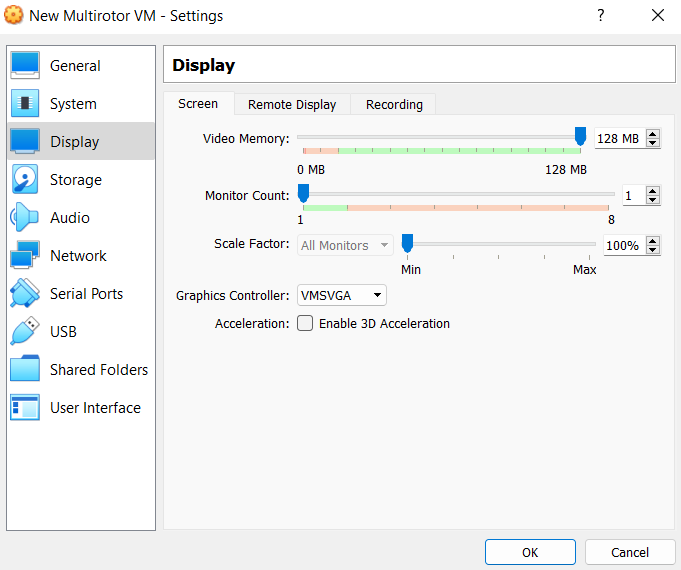
- Under Display > Screen, crank the video memory to max. (Assuming you have at least 128 MB of VRAM that is, which you probably do.)
- Click OK to save your changes.
Starting Your VM
Now that all of the settings are taken care of, you can start your machine for the first time. We will now have to take that Ubuntu ISO that you downloaded and use it to install an OS on the VM.
- On your VM, click start.
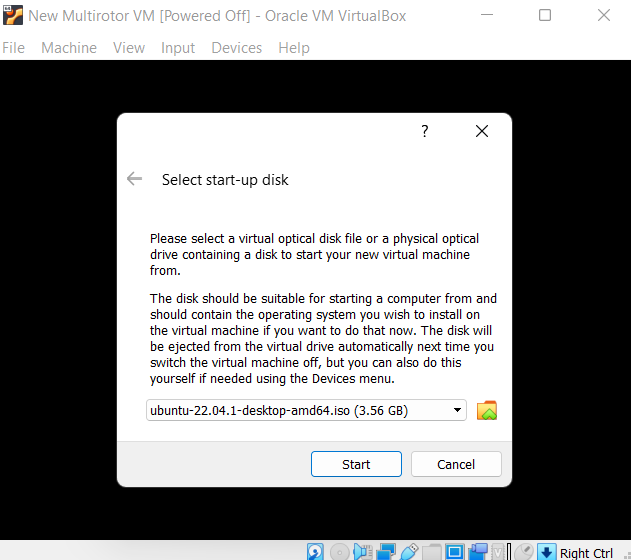
- VirtualBox will prompt you to select a start-up disk. Think of it like inserting a CD to install your OS, where the ISO file we downloaded is the CD. Choose the folder icon and navigate to where you downloaded the Ubuntu ISO file to. Once you have it selected, press start.
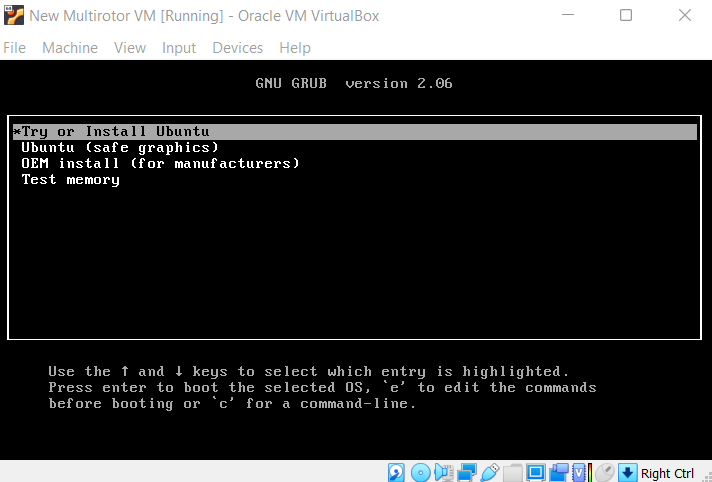
- Select Try or Install Ubuntu with the arrow keys and press enter. You will now boot into the Ubuntu installer.
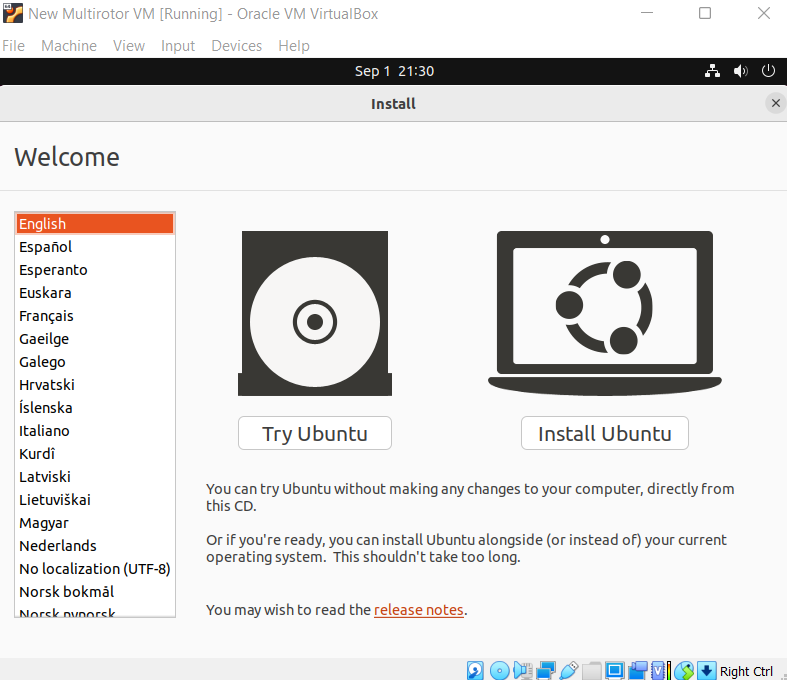
- Select Install Ubuntu. As far as Ubuntu is aware, it is running on a bare-metal computer. It doesn’t know that it’s in a VM.
- Select your keyboard layout.
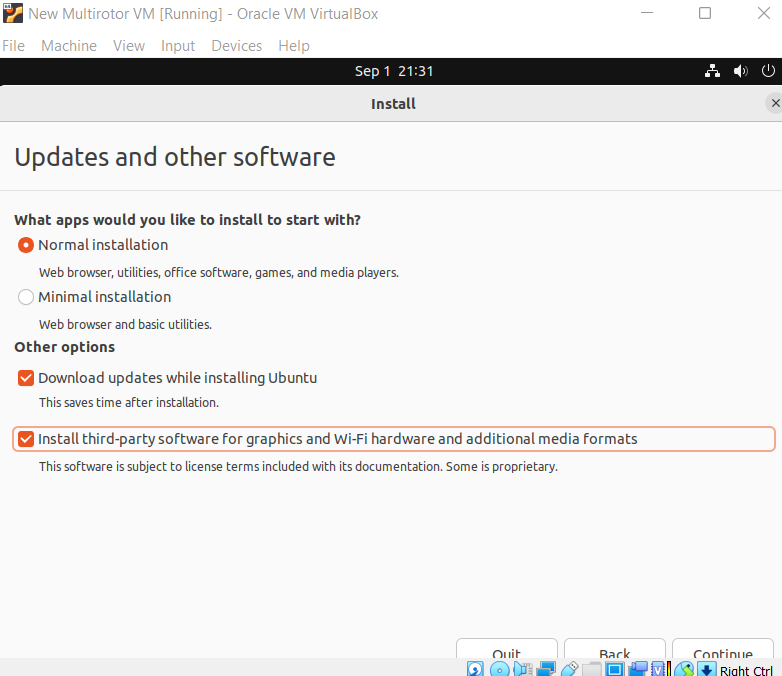
- Select your software options.
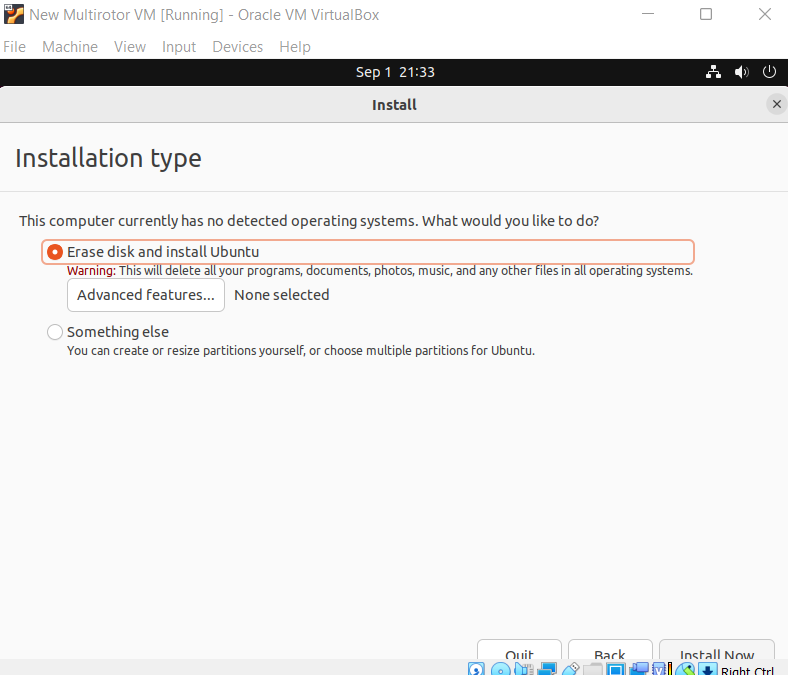
- Select “Erase disk and install Ubuntu”. That may sound scary, but don’t worry. The disk that it is referring to is the virtual hard disk that you created earlier. The machine is incapable of touching anything outside of the virtual hard disk, so your files are safe. Click “Install Now”. On the prompt about disk changes, select “Continue”.
- Choose your time zone.
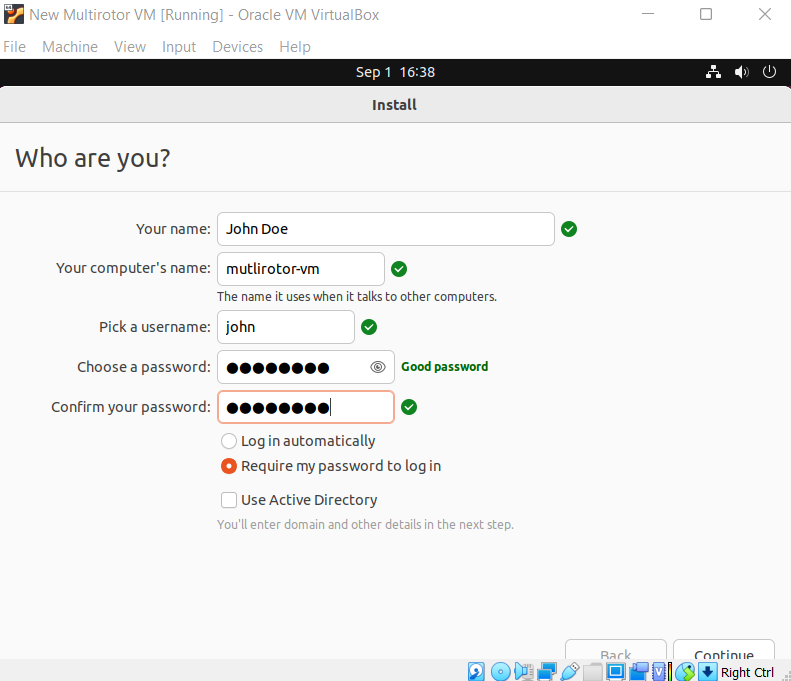
- Fill out your information. Make sure to choose a password that you will remember. We will be needing it a lot.
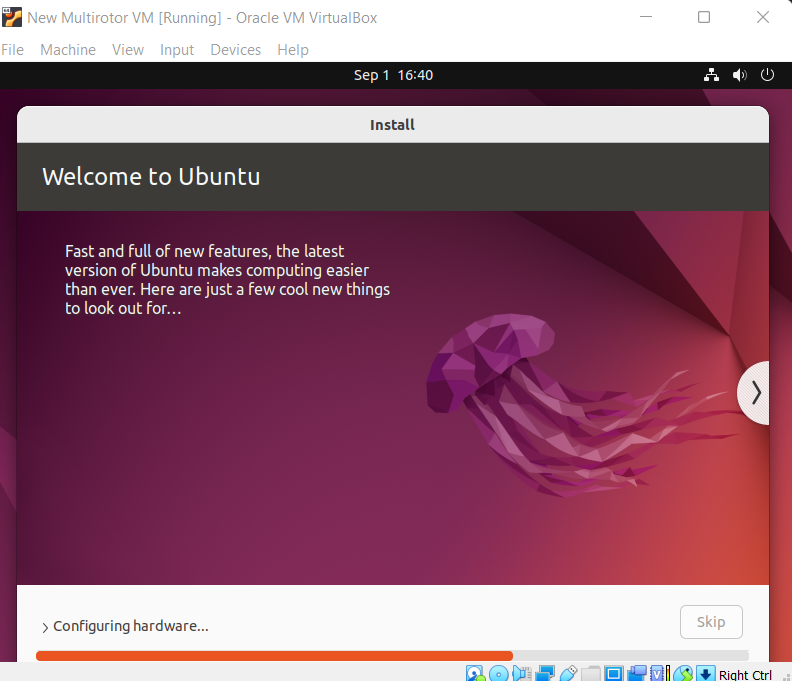
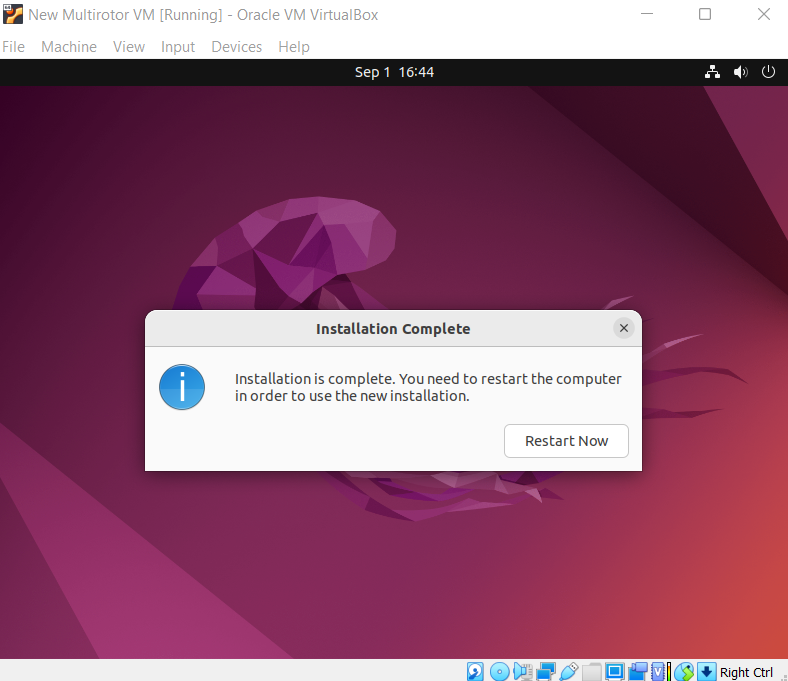
- It will now begin installing the operating system. Sit back and wait for it to finish. Once the installation is complete, select “restart now”.
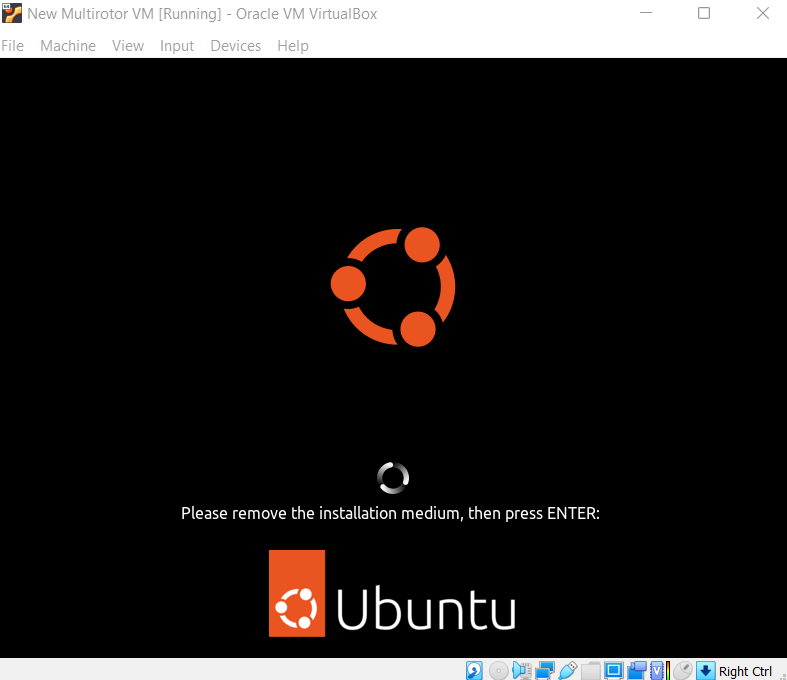
- The installation medium should have been automatically ejected, so press enter once the machine prompts you. You should now be booting into your newly create Ubuntu VM.
Installing VBox Guest Additions
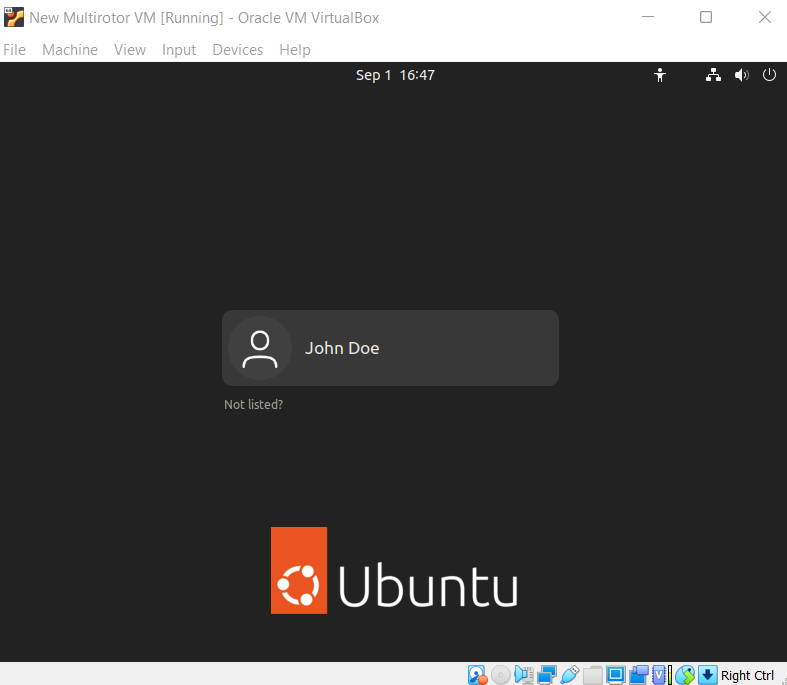
Log into your machine. You will be presented with a bunch of prompts that you can just continue through. The only one of note is whether or not to share system info with Ubuntu, which you may want to opt out of.
Once you get past these prompts, you’ll notice that your desktop is super tiny. This is because the VM doesn’t know what size of a screen it has. We can fix this (and a number of other issues that are less easy to notice) by installing VirtualBox Guest Additions. You can essentially think of these as drivers for the VM to communicate with the virtual devices, such as the virtual display, as well as with VirtualBox.
If you are prompted to install software updates, just click “Remind Me Later”. We are going to update through the command line like certified Linux pros.
- First, we need to make sure the software on our machine is up to date. Right click on the desktop and select “Open in Terminal”. This will open a terminal window.
- In the terminal, run the command
sudo apt-get update. This will update your lists of software. Essentially, it will check what the latest version is of everything that you have installed. You will be prompted to enter your password. Do that and press enter. (Don’t worry if it looks like you aren’t typing anything, it is just hiding your password.) - Run the command
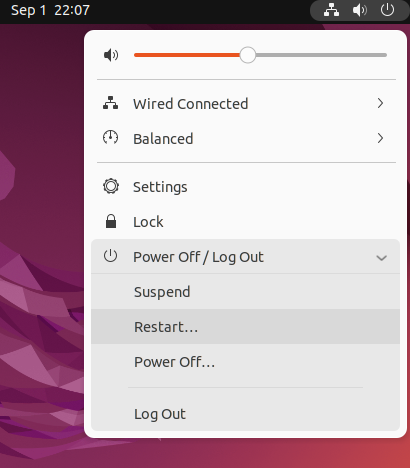
sudo apt-get upgrade. This will upgrade all of the software on your VM to the latest version. When prompted, enter ‘y’ and press enter. - In the top right, click on the power icon. Select “Power Off/Log Out” and then click “Restart…”. This will restart your VM. Once it has rebooted, log back in.
- Once you are logged back in, we can install the Guest Additions. On the top bar of the window that your VM is in, click “Devices”, then click “Insert Guest Additions CD Image…”. This will insert a virtual CD into our VM that contains the software we need.

- In your VM, open the “Files” application on the left. In the menu on the left, you should see “VBox_GAs_…”. Select this to open the it.
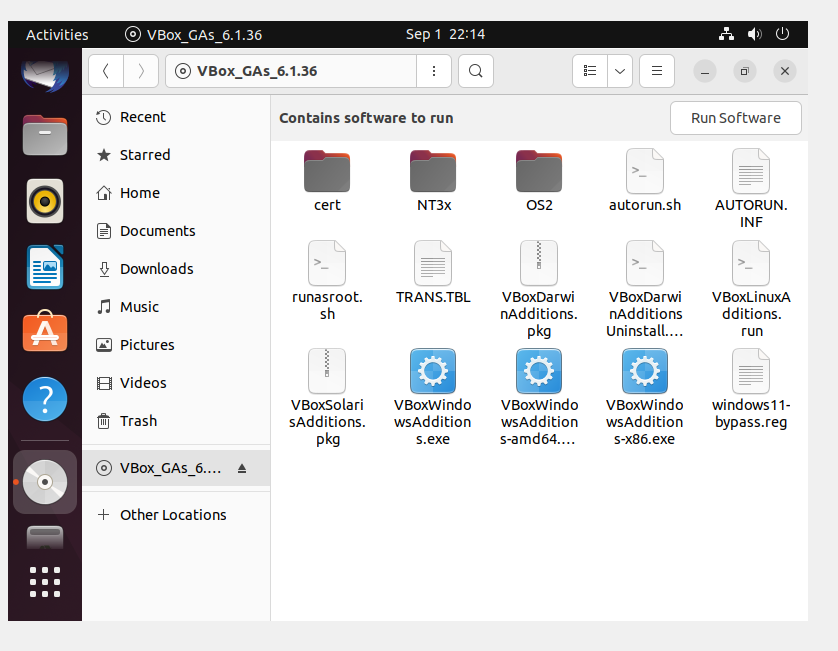
- In this location, on some of the empty space to the right, right click and select “Open in Terminal”.
- Execute the command
./autorun.sh. Enter your credentials when prompted. A new terminal tab will be opened. When prompted, press enter to close it. The software should now be installed. - Restart the machine again.
- Log in. Now, if you resize the window that the machine is in, the desktop should start scaling properly. If you want to go into fullscreen, press Right CTRL + F. Press again to return to windowed mode. You should also now be able to copy/paste between your host machine and the VM.
By this point, you should have a fully-functional Ubuntu VM.
Taking a Snapshot of Your VM
Taking a Snapshot of your VM ensures that, even if something catastrophic happens, you can revert your VM to an earlier state without having to create a new VM.
- Power off your machine and go to VirtualBox. On your VM, go to the snapshots page by selecting the three lines icon and clicking “Snapshots”.

- Click “Take”.
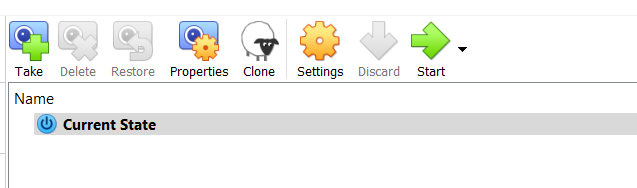
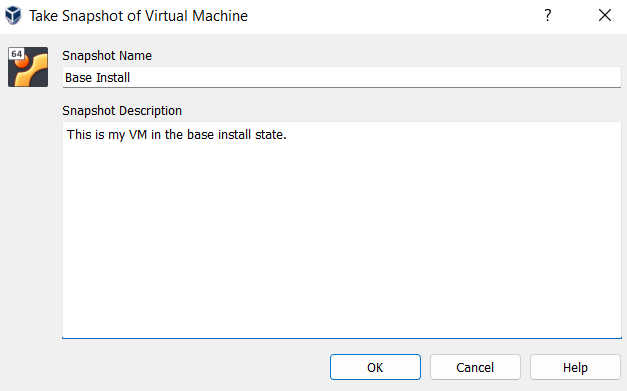
- Give the Snapshot a name and description and press ok.
Now, if you ever break your machine somehow, you are able to revert it to this base state as if nothing happened. It is recommended that you take frequent Snapshots so that you can always revert to a recent state.
Now that your VM is installed and Snapshotted, you are free to do with it what you wish. See your corresponding subdivision for additional software to install on it.